Windows is one of most popular and used operating system in the world. However, an increasing number of users have recently encountered frustrating Wi-Fi adapter issues on their Windows devices. One common complaint has been the sudden disappearance of the Wi-Fi icon, leaving users disconnected and perplexed.
If you are also facing Wi-Fi problems on your Windows then this article is for you where we have discussed five different ways to fix Wi-Fi connection Issues in Windows 10 and 11. By following these steps, you will gain the necessary knowledge and guidance to fix Wi-Fi connectionand get astable connection.
Contents [hide]
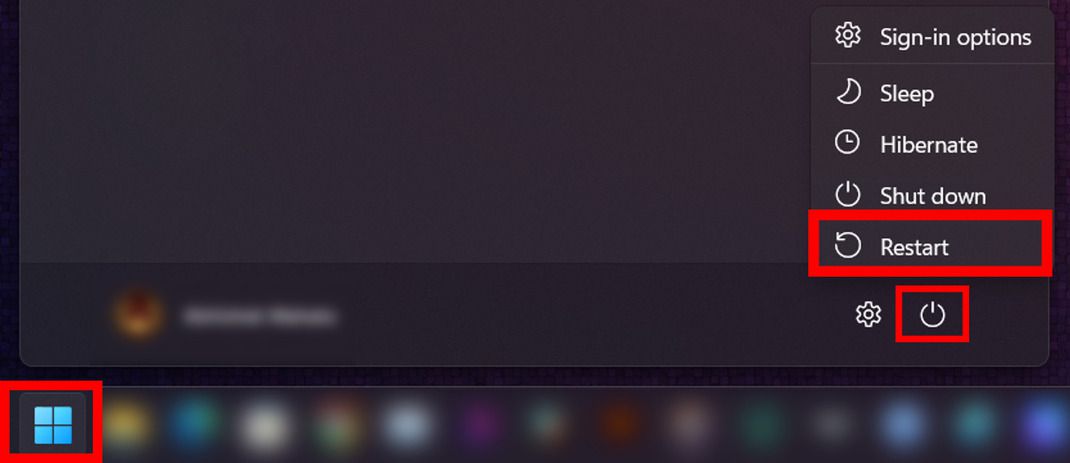
1. Restart Windows
To restart your PC/Laptops, click on the Windows icon which is visible at the bottom left corner in Windows 10 or Windows 11. Next, click on the Power button > Restart.
2. Enable the Wi-Fi adapter
Right-click the Windows icon in your Windows 10 or 11 and then select Device Manager. In Device Manager, expand the Network adapters and check whether your Wi-Fi driver is disabled or not. If it is disabled, then right-click on it and select Enable device.

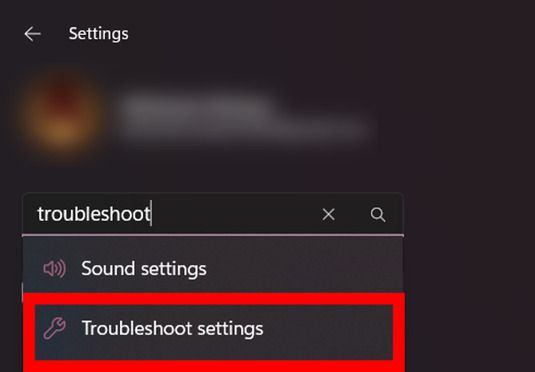
3. Troubleshooting Wi-Fi Problem
-
Go to the Windows Settings of your Windows 10 or 11 by pressing the
Windows key and Ibutton simultaneously. In Settings, click on the Search bar and search for Troubleshoot and click on Troubleshoot settings.

-
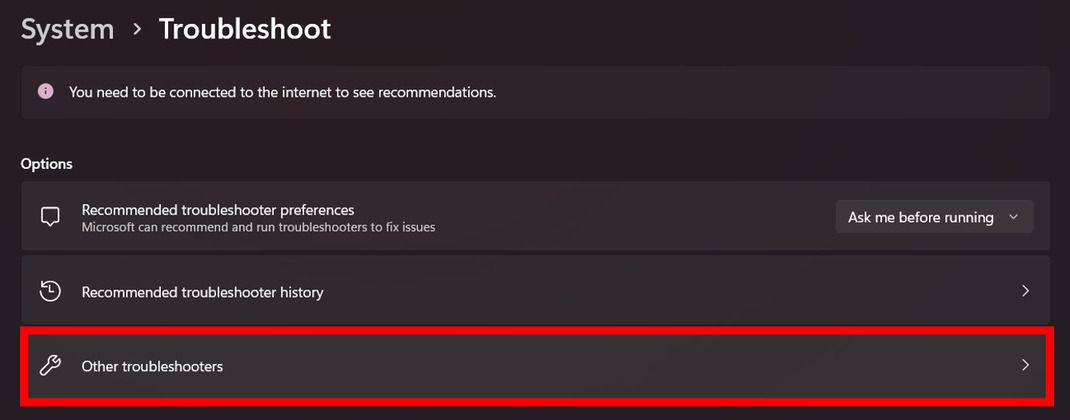
Then click on Other troubleshooters. In Windows 10, you can find the Network troubleshooter in the Network & Internet section of Windows Settings.

-
Then click on Run beside Network Adapter, to run the troubleshooter for the Network adapter

-
Select Wi-Fi and click on Next. The troubleshooter will start and will try to find and fix Wi-Fi connection, so follow up with that.


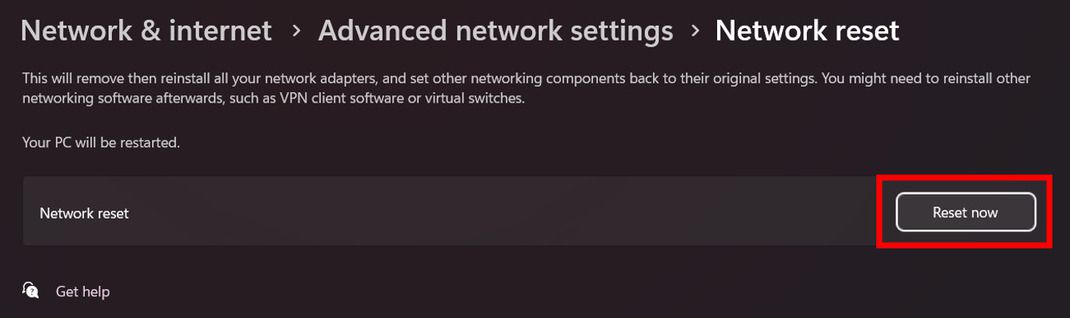
4. Network Reset
-
Go to the Windows Settings of your Windows 10 or 11 by pressing the Windows key andI button simultaneously. In Settings, click on the Search bar and search for Network Reset and click on Network Reset settings.

-
Then click on Reset now. Remember, resetting your network will restart your device, reinstall your network adapters, remove saved Wi-Fi networks, and you may need to reinstall some network software like a VPN client.

-
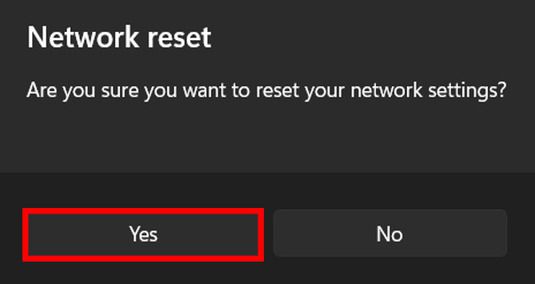
Then you will be prompted to confirm network reset, so click on Yes.


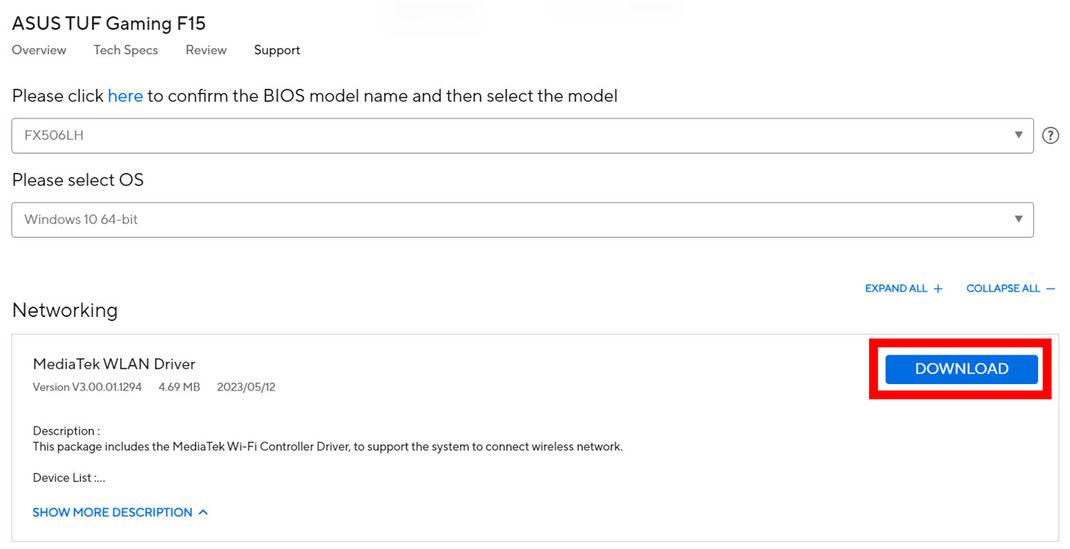
5. Reinstall Wi-Fi Driver
-
In this step, you will need to download and install the Wi-Fi driver manually. So go to the official site of you device manufacturer and download the official and latest Wi-Fi driver available according to your device model and operating system. After downloading the driver install it and restart your system to take effect.

-
If you couldn’t find a Wi-Fi driver from your device’s manufacturer site or if your device supports Intel Wi-Fi adapters then you can download the latest Wi-Fi drivers from the Intel website. Click here to go to their download page and download the Wi-Fi driver based on your operating system and then install it. Restart you Windows after succefull installtion.